01 / Forming and ceramic bodies
How the Body Takes Shape
The silhouette you see across a room begins as a sequence of pressures, joins and pauses. Follow those decisions before judging the finish.
Begin at the edge of the shadow
A broad ceramic shade can conceal the light source while leaving a bright opening beneath it. A narrow neck may make the same source difficult to fit or replace. These are not merely styling choices. They emerge from the relationship between the outside profile, the internal cavity and the parts that must eventually pass through it.
Look at a lamp unlit before looking at it illuminated. Notice whether the rim is even, whether the body leans intentionally and where a cable enters. A visible seam or turning line may explain the forming method, but it cannot establish strength or electrical suitability. Those need separate information from the maker.
Choose a body, not just a colour
Earthenware, stoneware and porcelain describe broad ceramic families, not single recipes. Bodies differ in working behaviour, fired absorption, shrinkage and colour. Many earthenware bodies remain relatively porous after firing. Many stoneware bodies mature to low absorption, while porcelain can support fine detail and, in suitable conditions, translucency. None of these descriptions substitutes for the actual body’s technical data.
Grog—previously fired ceramic material added to some bodies—can support working properties in larger hand-built forms. It may also leave a visibly granular surface. A smooth body may suit crisp carved openings, but its drying behaviour and resistance to distortion still need testing. Material choice should support the intended geometry rather than serve as a prestige label.
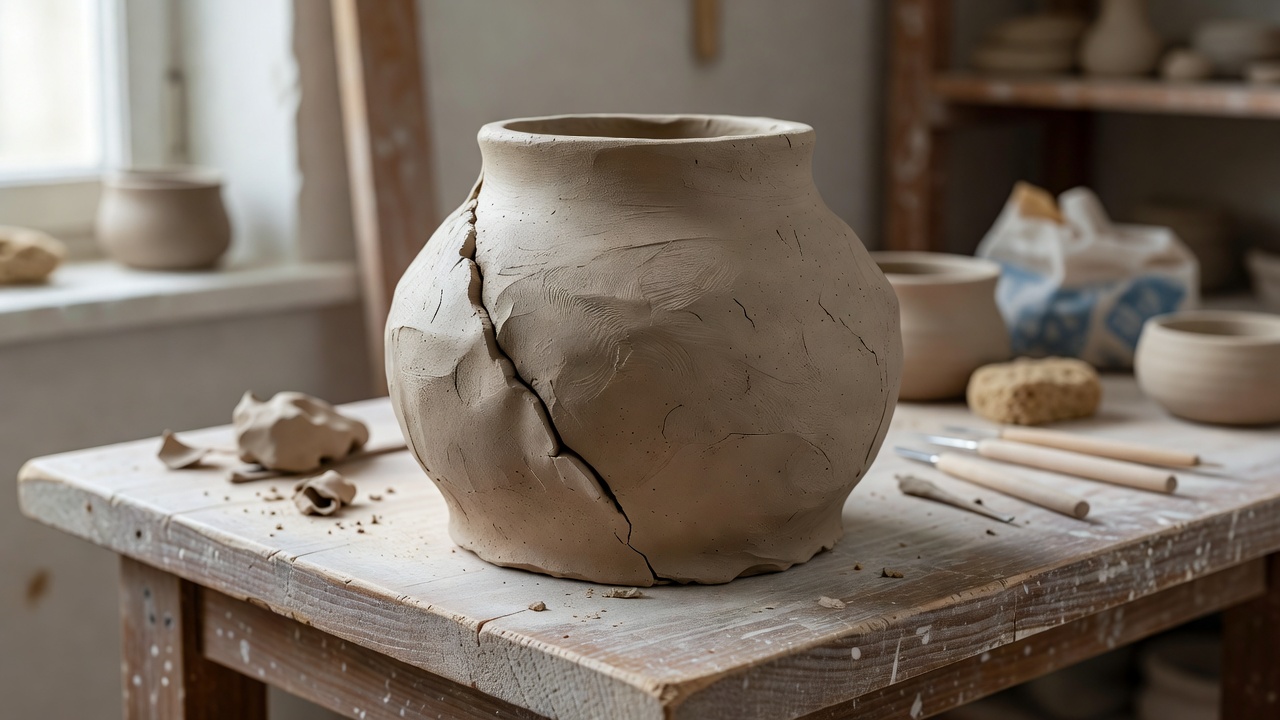
Read three ways of building a wall
Throwing builds a rotational form on a wheel. The maker centres the clay, opens it and draws the walls upwards before shaping and trimming. A wheel-thrown pendant can be finely controlled, but symmetry is not automatic. The relationship between a thin wall and a heavier shoulder becomes especially important as the object dries.
Hand-building includes pinching, coiling and assembling slabs. Coils permit gradual changes of direction; slabs can produce planes, folds and less circular profiles. Joins must be consolidated, and connected pieces need compatible moisture levels. A seam left visible can be an expressive choice, yet a deliberately visible seam still needs sound construction.
Slip casting uses a liquid clay suspension and an absorbent mould, commonly plaster. As water is drawn into the mould, a clay layer forms against its surface. Draining and timing help establish the wall. Casting can repeat a profile accurately while leaving substantial handwork in trimming, joining, piercing and finishing. A mould does not make the final object automatically industrial or characterless.
| Method | Visible clues | Ask the maker |
|---|---|---|
| Wheel throwing | Circular geometry, turning lines | How are the neck and rim controlled? |
| Hand-building | Seams, facets, modelled contours | How are joins dried and inspected? |
| Slip casting | Repeated profiles, finished mould seams | Which stages are finished by hand? |
Thickness is a relationship
There is no universal ideal wall thickness for ceramic lighting. A small pierced pendant, a large table-lamp base and a translucent porcelain shell have different structural demands. The transition between thick and thin areas matters because uneven drying can introduce stress. Openings interrupt the wall further, especially where several cuts leave narrow bridges of clay.
A hand-built surface can be irregular without being careless. The useful question is which dimensions the maker deliberately controls.
Mounting holes must allow for shrinkage through drying and firing. Published shrinkage values are a starting point, not a guarantee that a particular object will finish to an exact measurement. Makers often use test pieces, gauges and repeated trials. Enlarging a finished hole is not a harmless household adjustment: brittle ceramic can chip or fracture, and altering an assembly may affect its safety.
Drying is part of the design
Before a kiln enters the story, the form must release water without excessive distortion or cracking. Large openings, attached details and changes in thickness can dry at different rates. Covering, turning and supporting the object are practical ways makers manage this stage. Patience here is a technical decision rather than a romantic extra.
For deeper context, the Victoria and Albert Museum’s ceramics collection offers a broad view of forming traditions. The Crafts Council provides further perspectives on contemporary making. Bernard Leach’s A Potter’s Book and Emmanuel Cooper’s Ten Thousand Years of Pottery are useful historical companions, not lighting-installation manuals.
When comparing lamps, ask which clay body is used, how the form is made and which tolerances are checked after firing. These answers explain more than the word “artisan” on its own.